It happens to all of us, sometimes you are trying to finish a project, only to discover that your rotary blade is dull. Sharpening a rotary blade can be frustrating. I was frequently disappointed with blade sharpeners; the blade never was as sharp as I expected. Part of the problem was that I did not have the correct blade sharpener. Now, I have a junk drawer filled with blade sharpeners that did not work.
When I wanted a clean, sharp cut, I reached for a brand-new blade. But purchasing a new blade after every few projects is an expensive solution. When I tested the Colonial Needle Blade Sharpener, I found what I was looking for – a tool designed to sharpen a rotary blade on the spot and restore your blade to its former state.
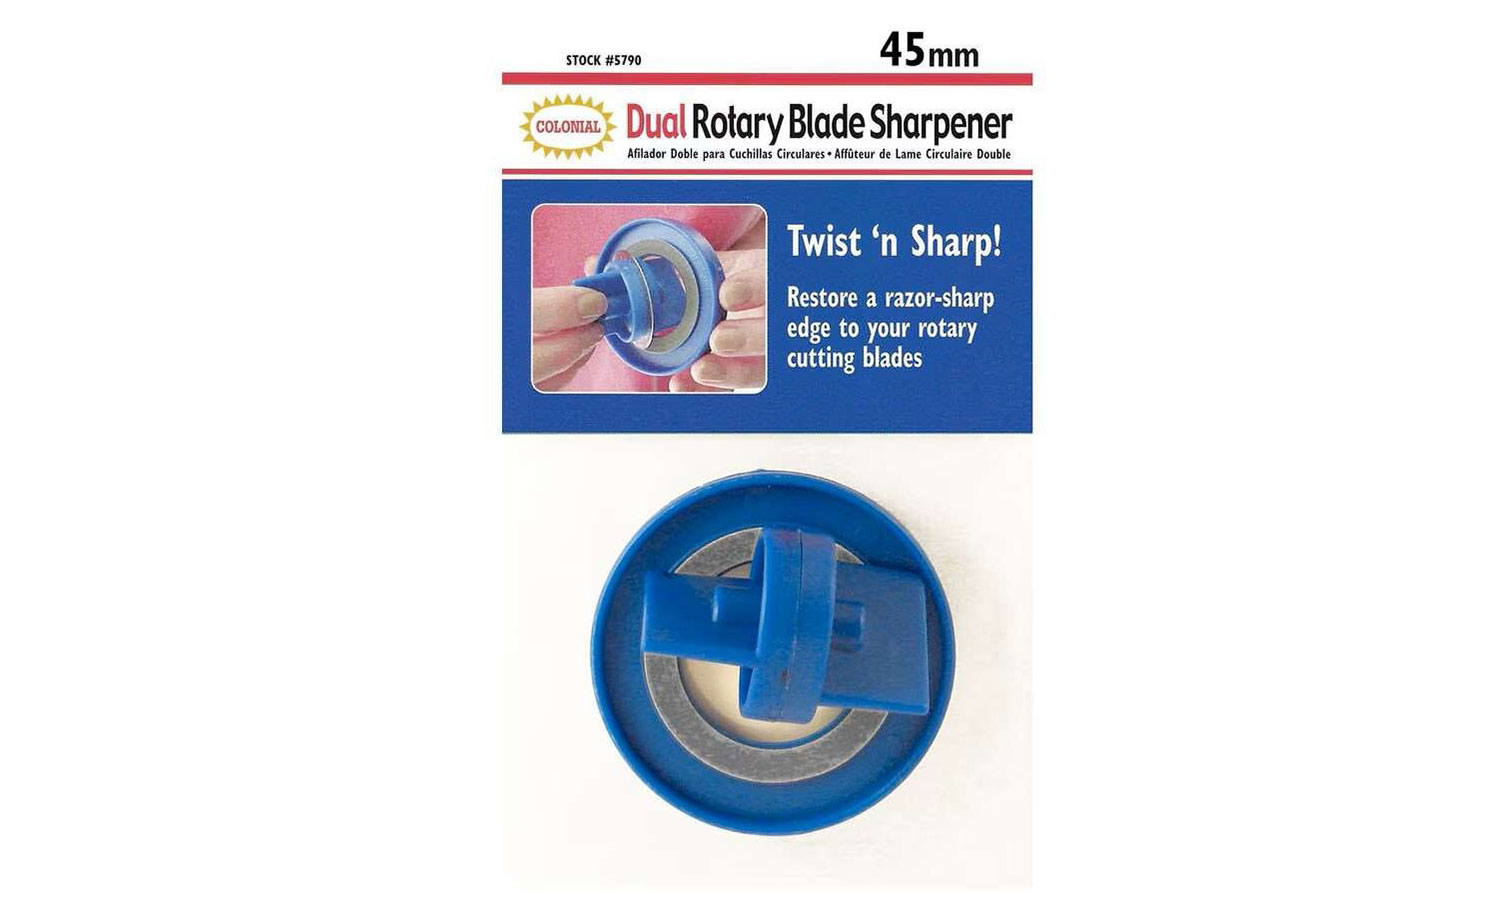
When evaluating the blade sharpener, I was impressed with its performance and design. These sharpeners are available for 45 mm and 60 mm blades and come with a two-sided abrasive disk.
The light-colored side removes imperfections, while the darker side is a polisher, for finishing.
This is an important distinction. The sharpeners I had tried previously did not have the coarse abrasive material, they just had a polishing finish, which explains why my blades never sharpened properly.
How to Sharpen
The blade sharpener has two sides to the abrasive disk – the light-colored side is the coarser side, and the darker side is the finishing side. When your blade is dull, begin with the courser light-colored side. But, for minor adjustments, the finishing side will do the trick. Always sharpen both sides of your blade.
There are four steps for sharpening your blade:
- Start the sharpening process with the light-colored disk (coarser side).
- Use a drop of water and wet the abrasive disk.
- While applying slight pressure, twist the handle 10-20 times in one direction. (Duller blades may take more twists). This step makes the blade razor-sharp.
- Then turn the blade over to sharpen the other side and repeat steps 1-3.
The first time you sharpen a blade expect the process to take a little longer. Once you get the hang of it, the process will be quicker.
Tip During the sharpening process, keep the abrasive disk damp. A drop of water on your finger is all you need.
Know When to Sharpen
When you start skipping threads while cutting, it is time to sharpen your rotary blade. Some quilters make it a habit to sharpen their blade after each project. How frequently you sharpen the blade depends on the thickness and type of material you are cutting, and how often you are cutting. Heavy use requires more frequent sharpening. Remember that sharpening removes metal from the blade. After using the sharpener for a while, you may need to buy more abrasive disks. However, you can purchase many replacement disks for the cost of a new blade.
Beyond Quilting
You can use a rotary cutter for more than cutting fabric. But it would help if you did not use the same rotary cutter to cut both fabric and paper products (printer paper, card stock, laminated pieces, vinyl banners, vellum, or template plastic). Cutting paper products is harder on the blade than fabric, and your blade will become dull more quickly.
I have one rotary cutter dedicated to cutting fabric and a separate one for my paper crafts. (I use my old blades for cutting paper products).
A Sharpener for Arthritis Suffers
Colonial Needle Blade developed an effortless method to sharpen rotary blades for those who suffer from arthritis. With the Turn-Sharp Rotary Blade Sharpener, the wrist stays straight, and the comfort-grip knob turns easily for either right or left-handed users.
Whichever blade sharpener you select, you can be confident that your blade will be sharp, and your project will be perfectly cut.
